Image Map

Thursday, September 27, 2012

Rhythmic Repitition

I decided after our review the first couple weeks that ALL of my classes (mostly 3-5 graders) needed to brush up on their rhythms. I wasn't sure how I was going to do this at first because it really seemed like we needed to go back to basics on this. I noticed the most difficult part for students was remembering, which note is which and how many beats it gets.

Solution? New rhythm game using quarter notes, quarter rests, and eighth notes. Once students get good at the game I'll add in other harder rhythms and hopefully get us back onto track. I call this new rhythm game Rhythmic Concentration. It was based off of a music concentration that many of you probably have heard about.

Here is how it works:
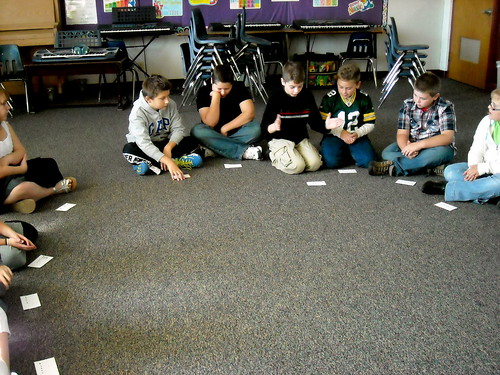
Rhythm Concentration
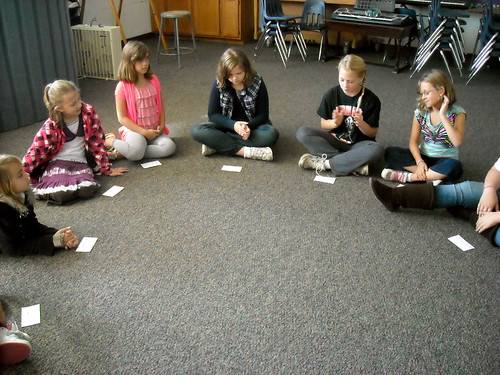
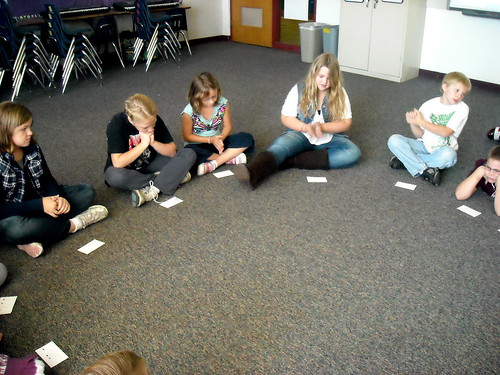
Everyone in the class sits in a circle on the floor.
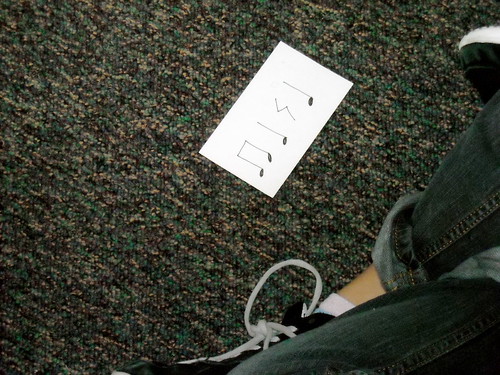
Rhythm Concentration
Each student is given a basic rhythm that was written on an index card. (I used only quarter notes, quarter rests, and eighth notes, however you could add in other rhythms your students know)

I then put a piece of tape or something to mark the 'beginning/end' of the circle. The person on the right of the marker is #1. The goal of the game is to be #1 at the end of the game.

The #1 person claps their rhythm and then #2 claps their rhythm immediately after. This continues all the way around the circle. During the first round, I normally just let them practice their rhythm. However, after that it gets harder.

Students continue clapping their rhythms as they continue around the circle. When someone misses their turn or hesitates that student has to go to the end (to the left of the marker). Their rhythm stays where it is and then students fill in the spaces. For example: if #5 of #10 misses their turn #10 shifts to #9; #9 shifts to #8; #8 shifts to #7; #7 shifts to #6; #6 shifts to #5; and #5 shifts to #10!

For those visual learners like myself, a model of the switch!:
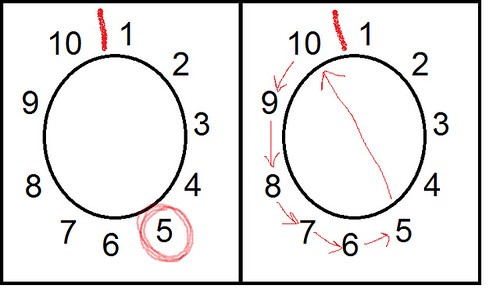
rhythm concentration switch

After that it gets even more difficult. I start sending people to the end of the circle for clapping the wrong rhythm, not doing it in beat, and I have even added the metronome for some of my older students and they have to stay in beat.
Rhythm Concentration

My students really seem to like it. What I like most about it is it is fast paced, so those that get frustrated with waiting for everyone to get a turn don't feel that way during this game. I also like it because they are practicing their rhythms without feeling like they are practicing rhythms!
Rhythm Concentration

If you try this out, please let me know how it goes or any changes you made to make the game run smoother! Also feel free to ask me questions about it, I'll do my best to answer them. Have fun!

Tuesday, September 25, 2012

Tweet for Education

Twitter

I decided to write a blog post about tweeting, since last week we had a mini-in-service about the significance of tweeting as a professional practice. Now I know what some of you are thinking: How can you use Twitter as a professional practice? How will it better your work? What should you tweet about? What does it mean to follow someone or be followed? These are all questions I will try to answer in this post.

I myself am of the 'younger' generation. I'm what some refer to as a millennial or generation Y. The millennial generation are typically people born anywhere from the late 1970's through 2000. Millennial kids are generally marked by an increased use and familiarity with communications, media, and digital technologies. This means I have no qualms with using new technology and am constantly finding ways to use new technology in my music room. (I already have a smartboard at both schools and recently was given an iPad to use in one of my classrooms. I'm sure you will see more about this technology later in the year as I find ways to use it.)

Though I am excited about using technology in my classroom, I will admit I was a bit skeptical of twitter at first. How can you really learn anything just from 140 characters or less? However, I have found that many do not just post random things like "Today my job was super great!", but instead, they post things like "Today I played an awesome #music game with my students! Check it out (URL here)! #musiced #musedchat" They then link their post to a blog they wrote or read somewhere. These types of tweets can be really helpful.

How do you find relevant posts? By using the search bar. You can put in words or hashtags into the search bar. Hashtags are made up tags that connect people that are talking about the same thing. Some important hashtags to know, if you are a music teacher: #musiced, #musedchat, #music, and #musedmot. By searching for these hashtags you will see ALL of the posts related to that topic. You can then read different posts people made and eventually decide to follow them. To follow someone just use the simple steps highlighted below:

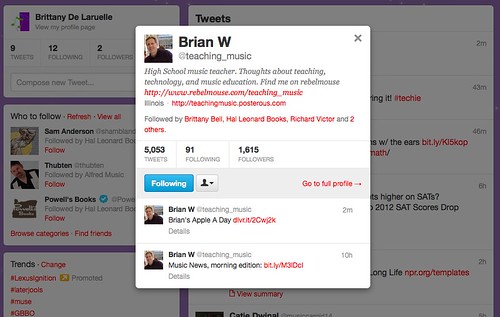
1) Find someone interesting and click on the post:
Step1

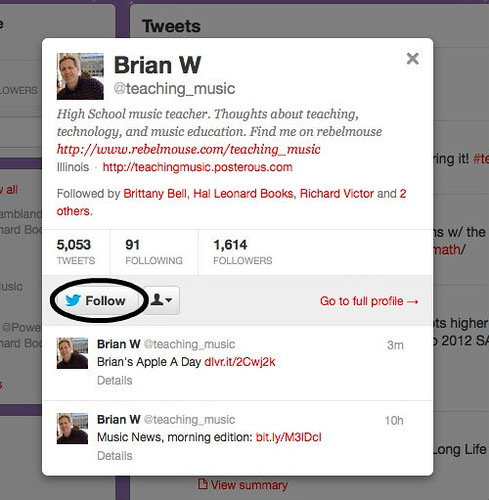
2) That will open this mini-menu:
step2

3) Click the FOLLOW button:
step3

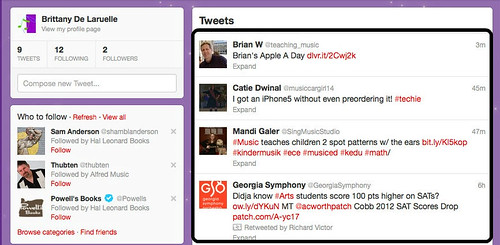
As you follow more people you will get more tweets here in your tweet feed:
step4

If you are being followed they are getting your posts!

Now, you are making links with interesting people and hearing what they find to be interesting through retweets.

What is a retweet? Well, when you find something super interesting (which believe me you will!) just click the retweet button as shown below:
retweet1

After you retweet it, all YOUR followers will see it, too! You will also see things that your followers retweeted, which eventually can connect you to more professional music teachers! (Isn't social networking fun?)

After spending just ONE week on Twitter, I have read MANY articles about music advocacy. I have found tips for parents to use music at home. I have found ways to network with other teachers. I have found teaching tips. All of that in just ONE week. (And I only am following 12 people and followed by 2). Start small and just keep building. The more people you start following the more people that will start following you.

What should you tweet about? Anything you want to share! Wrote a recent blog post? Tweet about it! Did something awesome in your classroom? Tweet about it! Looking for helpful tips? Tweet about it! Just make sure you add hashtags so other people can find your posts! It is also okay to not tweet anything and just follow people. However, I am guessing once you start tweeting you won't be able to stop.

One more thing, while following tweets this last week. I stumbled upon something AWESOME! Apparently, there is a music education motivation day planned for September 29th. I don't know a whole lot about it, but you can learn more here. You can also look up #musedmot on twitter to find it!

Have you used twitter as a professional tool? If so, who do you follow and what have you learned or found? Have you ever considered using twitter as a way to grow professionally? Feel free to follow me @bndelaruelle and I may follow you back.

Thursday, September 13, 2012

Those Great UNPLANNED Teaching Moments...

It is hard to believe that I am already almost finished with my second week of teaching this school year. Last week was the typical 'getting started' lessons. Lots of discussions about expectations and some introductions. However, this is the first year I already know most of my students. It is so nice to be able to call most students by their names. It definitely helps with classroom management when you already have an idea of what to expect from certain students.

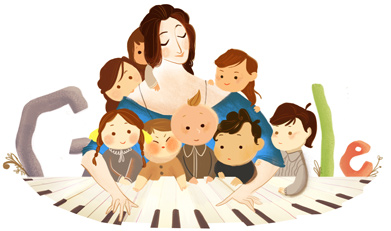
Today, the art teacher at one of my schools told me to check out the google icon today. It was an icon to celebrate Clara Schumann's 193rd birthday! Here is a picture of it for those that may have missed it:


I took this as an opportunity to share a few details about Clara Schumann with my class. It seemed to peak quite a bit of interest and I reminded them that if they went home and clicked on the picture it brings up all sorts of information about Clara.

I love finding those unexpected and unplanned teaching opportunities. It may take sometime away from the originally planned lesson plan, but you have to cease the moment sometimes. :)

Have a fabulous day! Go ahead and check out Clara Schumann on google, you know you want to!

Tuesday, September 11, 2012

Decorating Fairview

Information Bulletin Board

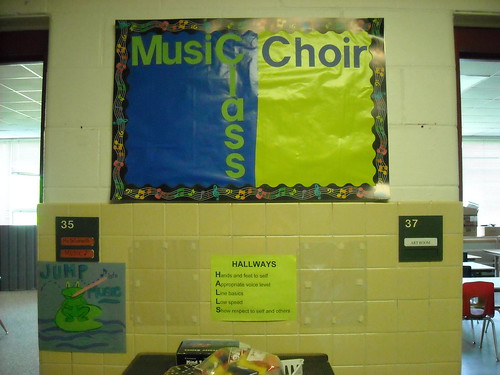
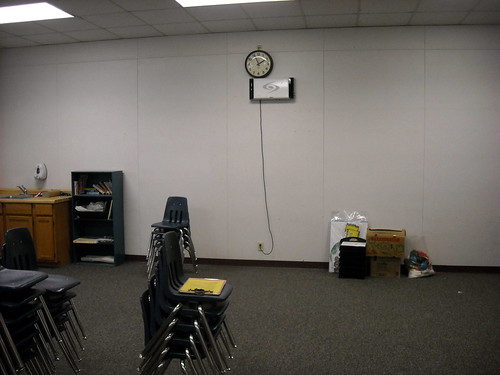
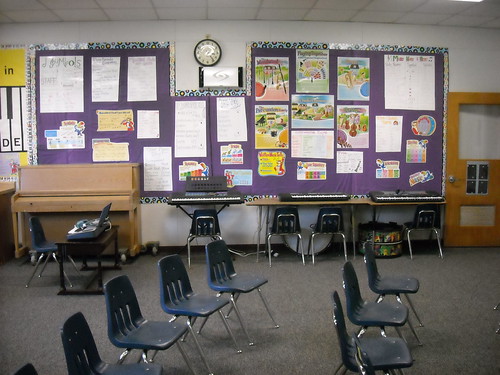
After decorating Bonduel for two days, I spent FOUR days decorating Fairview. That is the most time I have ever spent decorating my room, but it was definitely worth it!

The first things I worked on was my word wall on the south wall. This wall has a whole bunch of music words organized in categories. I know a lot of word walls are alphabetical, but I like having words in categories to make it easier for students to find the word they are looking for. I posted both posters that I bought, as well as, posters that I created this summer:

BEFORE
Pictures Before Decorating

FINISHED PRODUCT
South Wall (Word Wall)

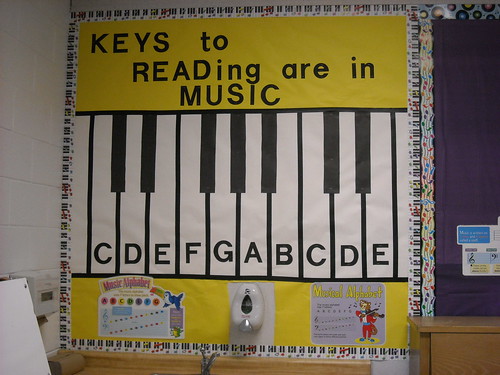
I also added an awesome bulletin board next to the word wall. This bulletin board was actually quite simple to make and I used black 'painters tape' to create the keys. It looks so great now that it is finished and it really adds something to my 'music story corner.'

Bulletin Board

The next thing I worked on was creating a small story corner. This is the corner I use when I sing a story to my little ones. That is one of my favorite things to do when teaching the little ones. I have all sorts of song storybooks and they love listening to the stories and singing along to their favorites like Puff the Magic Dragon and Over the Rainbow.

BEFORE
Pictures Before Decorating

AFTER
Reading Corner
This is not a particularly good picture... but you get the idea.

The next step was adding the learning target dry erase boards and the music alphabet like I had in Bonduel:
Day 3 Progress

The final step, creating a Student of the Month bulletin board to show the great achievements my students:
North Wall

For more pictures check out my album on my Flickr Account.
Thanks for Reading!!!

Saturday, September 8, 2012

Preparing for Another Year

I teach between two rural schools all school year. I absolutely love what I do, but there are obviously some disadvantages of teaching between two schools. One of them is that you have to decorate not just one room, but two!

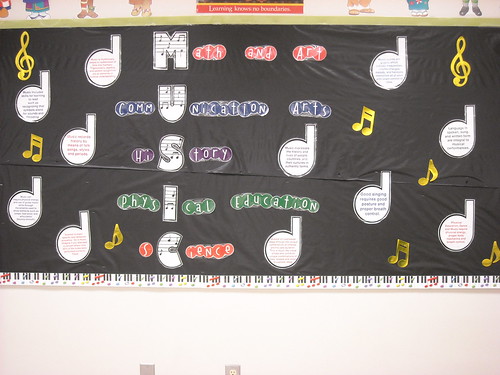
This year I was a little smarter about how I worked in my classrooms. At the end of the school year I already prepared both of my bulletin boards in Bonduel. Bonduel finished school about 3 days earlier than Fairview. That meant that I could work my normal school hours by teaching at Fairview then driving to Bonduel and working in my classroom. By the time school was officially out, my bulletin boards were prepared for the 2012-2013 school year:

DSCN2071
The first bulletin board used a black tablecloth as the background. I bought the downloadable and printable components of this bulletin board at the Music Bulletin Board website (great site for music educators to get ideas for bulletin boards). You can go to the downloadables part of the site and they have all sorts of great bulletin board sets. It is especially great for teachers like myself who have to work in two different classrooms. This way I can print off the items more than once and use them in both schools for the price of just ONE download.

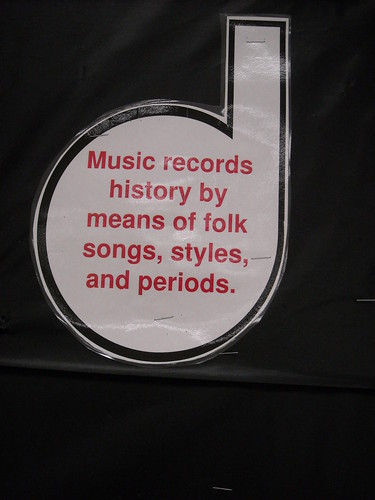
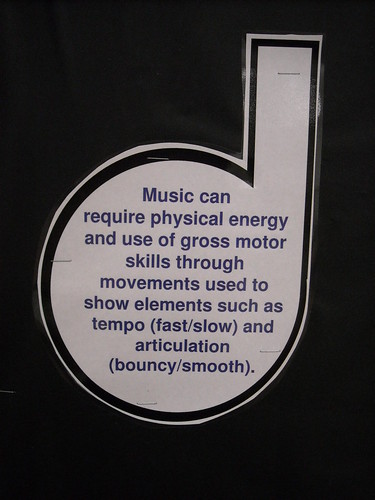
This bulletin board highlights how music is related to all the subjects. The music notes explain 'how?' in more detail. It is a great reminder to everyone that comes into my classroom, why music is more than just a 'fun' class. It helps students grow academically AND emotionally.

DSCN2072DSCN2073DSCN2074

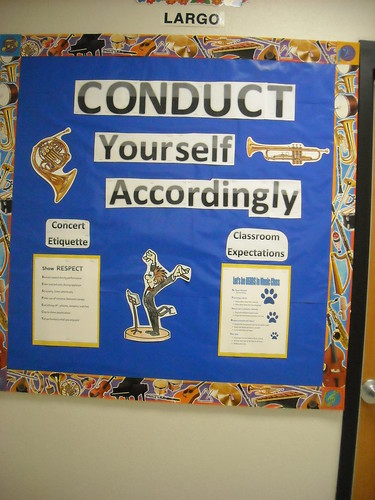
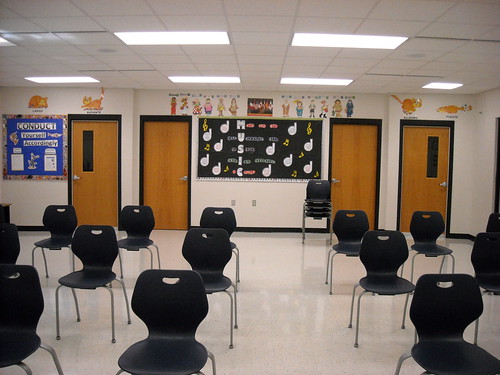
The second bulletin board was also an idea I got from the Music Bulletin Board Website. It says conduct yourself accordingly and it has classroom expectations, as well as, concert etiquette:
DSCN2076

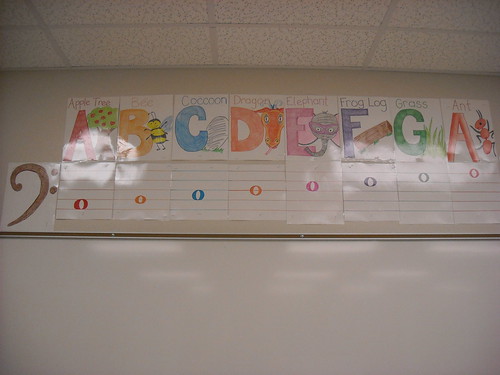
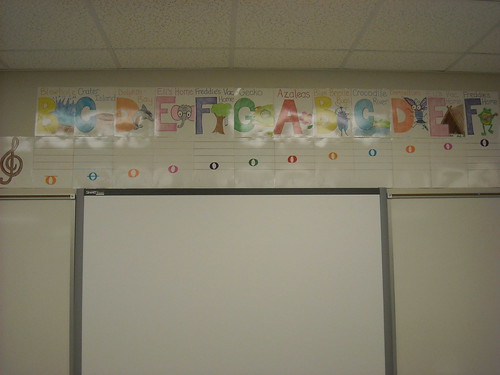
To finish decorating Bonduel, I added a music alphabet (I drew all the pictures, colored them, and then laminated them). I did NOT create the characters, but used characters from Freddie the Frog by Sharon Burch. Sharon is a music teacher who wrote a series that teaches young kids about the notes on the treble and bass clef stalves. Students love learning about Freddie, his friends, different tempos, music notes, rhythms, and scatting.

DSCN2068DSCN2069
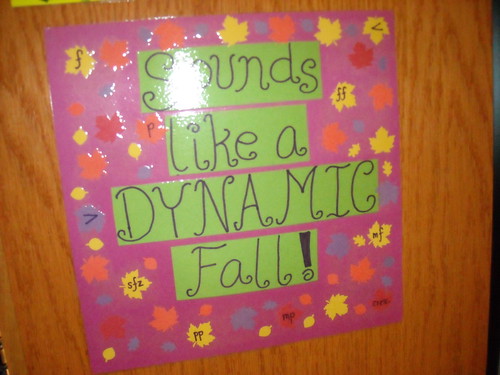
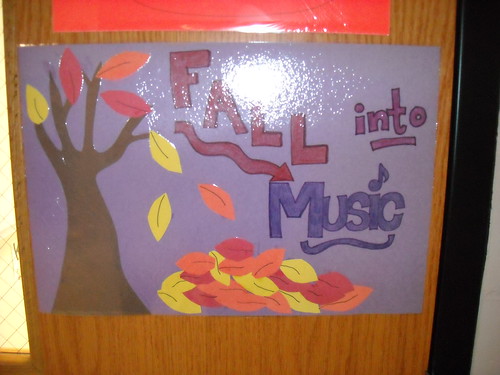
I also created two simple posters. I created posters because they are simple to take down and put up as the seasons change:

DSCN2081
DSCN2083

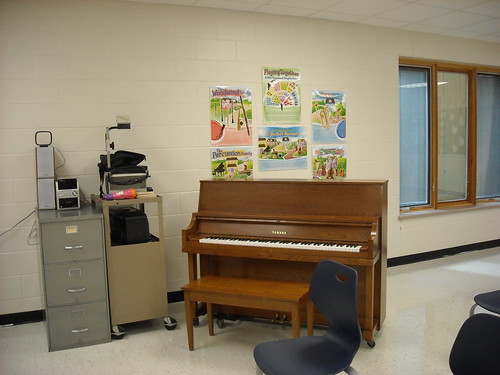
Finally, I moved around the piano, changed my seating arrangement, and added posters of the instruments of the orchestra:
DSCN2078
DSCN2079
DSCN2066
DSCN2064

If you would like to see more pictures of my classroom in Bonduel, please check out my Flickr Account.
Thanks for Reading!

Challenge #5 - Collage Technique

Guidelines:
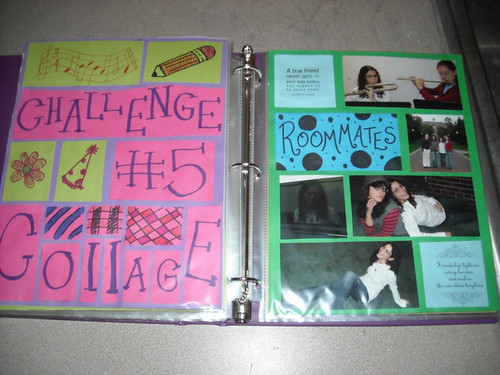
  • You need to create ONE scrapbook page for this challenge (Remember: one page is the two pages side by side)
  • Create a collage of photos on either side of your scrapbook page. This collage needs to contain AT LEAST 5 pictures.
  • You may only use 5 stickers, stamps, punches, etc. for this challenge. (Remember the focus is to use a lot of pictures, not a lot of ‘stuff’)
  • A journal is allowed, but not a requirement.
  • Use at least 8 pictures for this page. If you do not have enough pictures make sure to get some for this page!
  • Remember to make your page neat and clean!
Tips & Tricks:
  • Measure, measure, measure! The pieces of paper most of you are working with are 8 ½”x11”. Measure your pictures to fit into that.
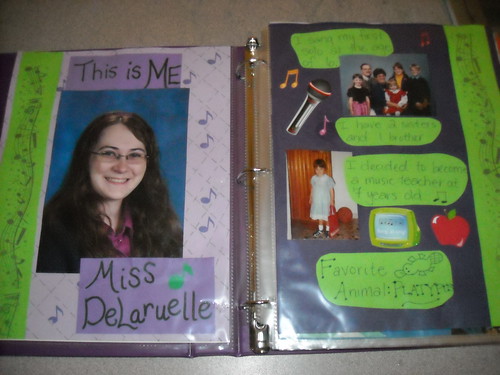
  • Use a ruler and be careful NOT to cut your pictures until you are completely certain you are right. You can always cut more off later, but you can NOT put it back on once it is off.
  • Do not worry about titles, stickers, etc. until the VERY end. You may not even have a title. That is alright! The focus this week is the pictures!
  • Be creative in how you put the pictures together. Use the templates provided on your table for ideas and inspiration.

For this challenge I gave my students a set of templates which I took from this website-->Scrapbook, Etc.<--
This helped students create their own layouts or cut pictures to fit the given layout.

Challenge Points:
  • Creativity
  • Follow Directions
  • Teamwork
  • Time Management
  • Neatness

My Example:
Challenge #5 - Collage Example

Winner of Challenge #5:
Challenge #5 - Collage

Thanks for Reading!

Challenge #4 - 'Themespiration'

Guidelines:
  • Create ONE scrapbook page for this challenge (Remember: one scrapbook page is actually two single pages side by side)
  • Decide on a theme for your page and have at least 3 things on your page that help represent this theme (this does not include pictures!). At least one of these things should be made by you! More will result in more points! This is your chance to be artistic!
  • There is no limit on the amount of stickers, punches, or stamps you can use for this challenge, but keep in mind you do NOT want your page to look cluttered. Make your hard work stick out!
  • A journal is welcome, but not a requirement for this challenge.
  • Remember, that, if you choose to title your page it should be neat and clean.

Tips & Tricks:
  • Choose a theme first! Remember you do not need a lot of pictures for this theme (2-4 will be plenty). However, you want to decide what you are going to create to make this theme come alive. Take a look at the examples in my binder to help you get started!
  • Spend the majority of the time, the first day (and maybe even second day), creating your theme items. These should be neat, clean, and be using your best artistic skills (some have more skills than others, that is okay! Just do YOUR best!)
  • Find a way to have your theme items really stand out and do not add a lot of clutter that takes away from the items you created for you theme.

Challenge Points:
  • Creativity
  • Follow Directions
  • Teamwork
  • Time Management
  • Neatness
  • Items for Theme

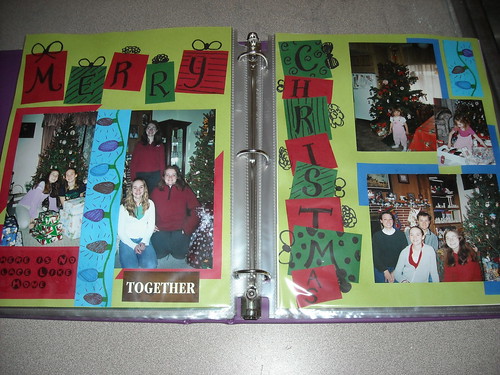
My Example:
Challenge #4 - Themespiration Example
Notice the Christmas Presents creating the words Merry Christmas. This is one of the items I created to represent the theme.

Winner of Challenge #4:
Challenge 4 - Themespiration

Thanks for Reading!

Thursday, September 6, 2012

Challenge #3 - Ripping Technique

Guidelines:
  • You need to create TWO scrapbook pages for this challenge (Remember: one page is the two pages side by side, so you are really creating four single pages)
  • Must using the ripping technique at least twice on each page. Using it more is recommended. Keep in mind that you want to rip towards yourself to make the effect obvious!
  • Can only use a combination of 15 stickers and pictures.
  • A journal is suggested, but not an expectation. You can decide whether you want to include one or not. However, keep in mind that you will probably get additional points for adding a journal to your page.
  • If you choose to title your page remember to make it look neat and clean!

Tips & Tricks:
  • When ripping you should rip towards yourself. If you forget, just turn the piece around.
  • LAYER: sometimes rips in front of pictures sometimes pictures in front of rips.
  • Cardstock (heavy paper) works best for ripping. Lighter paper may not show the nice rips. Because of this it may be smart to use the lighter paper as a background and the solid cardstock as your ripping paper.

Challenge Points:
  • Creativity
  • Follow Directions
  • Teamwork
  • Time Management
  • Neatness

My Example:
Challenge #3 - Ripping Example

Winner of Challenge #3:
Challenge 3 -  Ripping Technique

Thanks for Reading!

Wednesday, September 5, 2012

Challenge #2 - Geometric Shapes

Guidelines:
  • Pick a geometric shape as inspiration for your design. Some examples of geometric shapes include circles, parallelograms, squares, rectangles, triangles, trapezoids, octagons, hexagons, pentagons, stars, hearts
  • Title your page using stencils, nice printing, or stickers
  • Must use at least 10 of the shape of choice (Keep in mind, this does not mean one star, one heart, one circle, 3 squares, etc. Instead it means if you choose a triangle you use 10 of them in your scrapbook page)
  • Can only use a combination of 10 stickers and pictures
  • Must include a journal. This journal should have something to do with the page, but is NOT the description of pictures. Instead, it is a reflection on something. For example: if you have pictures of a vacation you could journal about what you did that specific day.

Tips & Tricks:
  • Before you do anything you should choose the shape you are going to use.
  • Cut out several shapes of various sizes and start to arrange them on your page. DO NOT glue them down right away.
  • Arrange pictures and a short journal around the shapes. Layering some shapes over pictures and some under will give it a more exciting look.
  • Make sure your shapes fit with the color scheme of paper. For example: if you pick a patterned paper that has a lot of orange, yellow, and red you should probably cut out shapes that are similar to this color.

Challenge Points:
  • Creativity
  • Follow Directions
  • Teamwork
  • Time Management
  • Neatness

My Example:
Challenge #2 - Geometric Shapes Example

Winner of Challenge #2:
Challenge 2 - Geometric Shape

Thanks for Reading!

Tuesday, September 4, 2012

Challenge #1 - Creating a Pattern

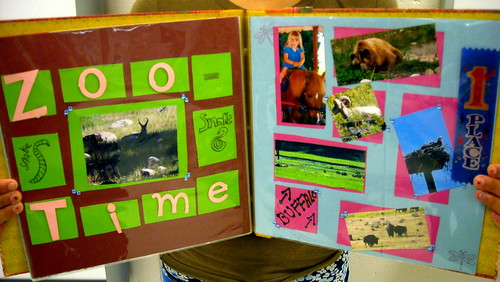
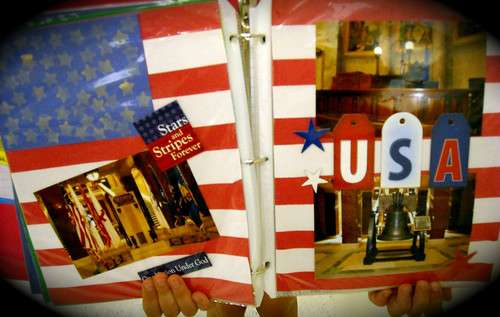
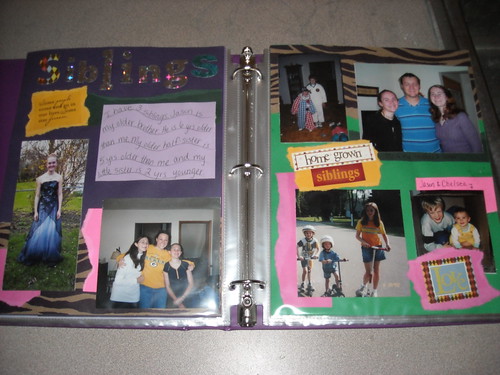
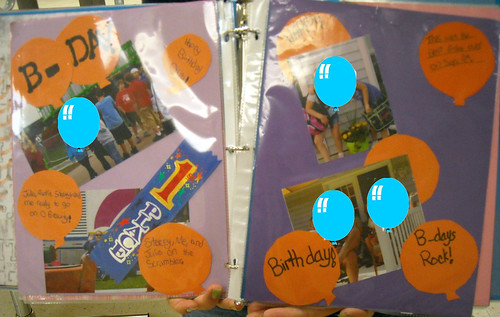
The third class that I taught during the summer was a Scrapbooking class. This class was by far my favorite to teach. I was a little worried going into it that students would not actually practice the techniques that I taught them. This was something I was warned about by the current art teacher. To solve this dilemma, my friend E came up with a brilliant solution: Scrapbooking challenges! I created five different challenges to go with the five different techniques we worked on throughout the summer. Students then worked on these challenge pieces and turned them in after a certain amount of time.

For each challenge I created PowerPoints with guidelines, tips & tricks, and challenge points (what they are 'graded' on).

The first challenge was creating a pattern that somehow represents yourself. The guidelines for the first challenge were as follows:
  • Create a pattern using stamps, markers, pens, etc. that somehow represents you
  • Must use AT LEAST ONE stamp
  • Use at least one picture of yourself
  • Include at least 4 interesting facts about yourself on the page
  • Can only use a combination of 10 stickers and pictures

Tips & Tricks to help students with the challenge:
  • Only have two to three focal points (things that REALLY catch your eye)
  • PLAN, PLAN, PLAN!
  • Focus on the pattern FIRST!
  • Pick colors that allow the pattern to stick out

Students were 'graded' on the following Challenge Points:
  • Creativity
  • Follow Directions
  • Teamwork (Working with those around you and helping them)
  • Time Management (Working hard and using the time given to make a great product!)
  • Neatness

My example:
Challenge #1 - Pattern Example

At the end of 3 work days (50 minute classes), students turned in their work. I looked through all the work and added the points up. I then chose one winner to receive a bookmark and have their picture taken with their work. I also chose a team winner. The team was based on an average of points based on the number of teammates. It was amazing how excited students got about this after the first challenge.

To see what great work my students came up with, I will post the winning pages of each challenge. Keep in mind these pages were created by 8-11 year olds. I also have put images in front of pictures to keep my students identities a mystery.

Here is Challenge #1 Winner: Challenge 1 - About Yourself

Thanks for reading!

Monday, September 3, 2012

Fun in the Sun - Week 4 & 5

Week 4 Events:
  • Bochee Ball
  • Lightning (Basketball)
  • Relay Race
  • Scoops in the Hoop

Week 4 Teams:
  • Chad
  • Chile
  • El Salvador
  • Italy

Week 4 we played a mix of games. First, I had two teams play Bochee Ball while the other two teams played a game of Lightning, and then they switched.

I also had them run a relay race with batons and then finally played a game that I just called Scoops in the Hoop. This is a really fun, but challenging game that students really enjoyed. Each student has a scooter they must stay on the entire game. Each team gets a laundry basket as their goal. Many waffle balls are put in the center of the court and each student has a scoop. As soon as the game starts all the students roll to the center and try to get as many balls into their laundry basket as they can. No stealing balls out of the other teams basket and no puppy guarding. Whichever team gets the most balls in their basket, when all the balls are gone, wins the game.

As a fun way to end Summer School, we had water fights 3 of the 4 last days of summer school. The last day it was a little rainy, so we ended up watching a movie instead.