Image Map
Showing posts with label decorate. Show all posts

Wednesday, September 9, 2015

What's On Your Wall - Link Up Part 2

Yesterday, I shared what my first classroom looked like. Today I'm going to share my second classroom, which is owl themed. Again I'm linking up with Tracy King A.K.A. The Bulletin Board Lady.


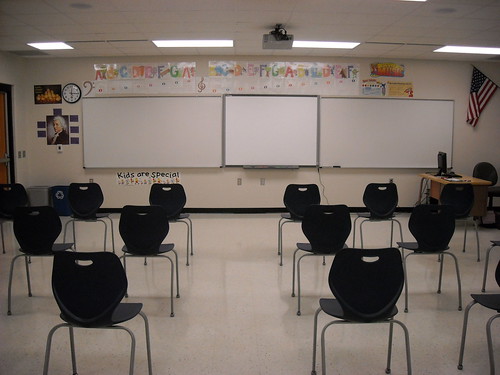
The back of my room is normally the first thing I decorate. I have two bulletin boards with tack-able wall around it.
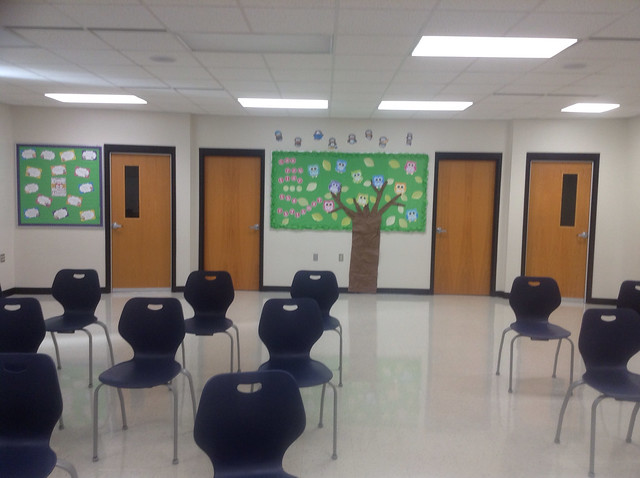
image


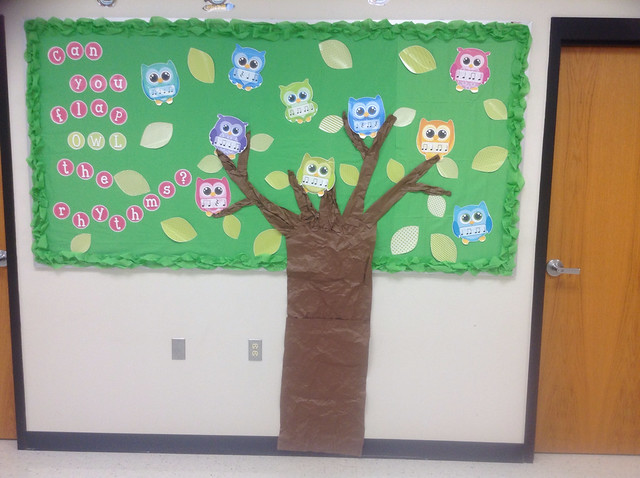
The one bulletin board reads "Can You flap owl the rhythms?". I have a background of bright green fabric that I purchased last year. The print outs can be purchased from Jena Hudson at Sew Much Music. I made the tree branches and trunk from brown butcher paper. I crinkled it up a bit to give it a more natural look. Then for the border I used crepe paper streamers.
image
I highly recommend using crepe paper streamers for a border. I was originally going to use a burlap roll for the border, but it only covered half of the border and was about $30, so I didn't want to buy another one. Then I was walking around thinking of another option when I saw the streamers. I wasn't sure how well it would work or how much I would need, so I snagged three of them (because I didn't want to take a chance that I'd have to go back) for $3 and headed out. To create the border I just twisted and bunched while stapling along the way. It is a bit thin doing just one time around, so I went around 3 times. I love how much it actually looks like leaves from far away. (Even going around the bulletin board three times didn't even use one roll.)

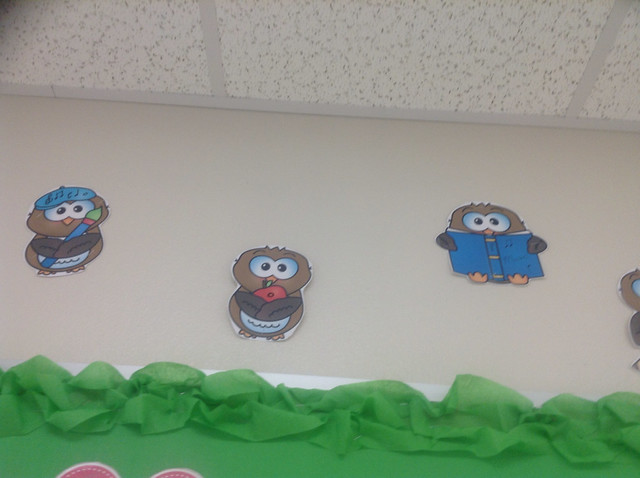
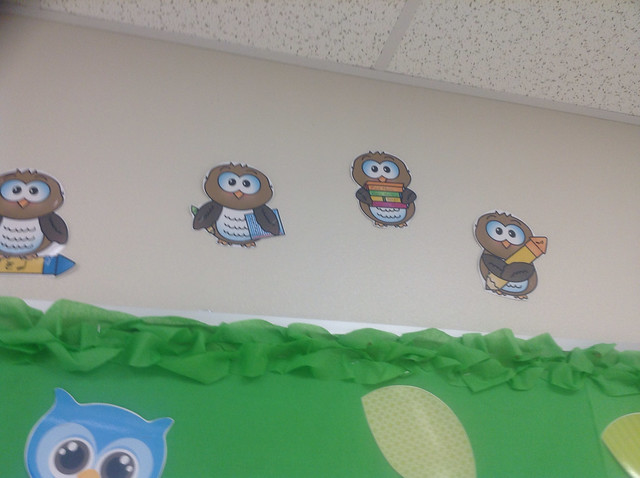
Above this bulletin board I have more clip art from Whimsy Clips. After printing these cute school owls out, I added music related symbols and terms to make them fit in a bit more.
image
image


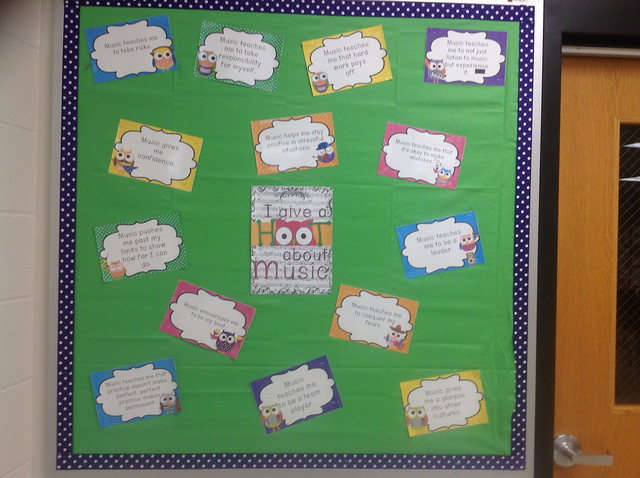
The other bulletin board reads "I Give a HOOT about Music". I purchased this bulletin board from Cara at Miscellaneous Me. This is a cute and simple advocacy board.
image


Now for the front of the room:
image


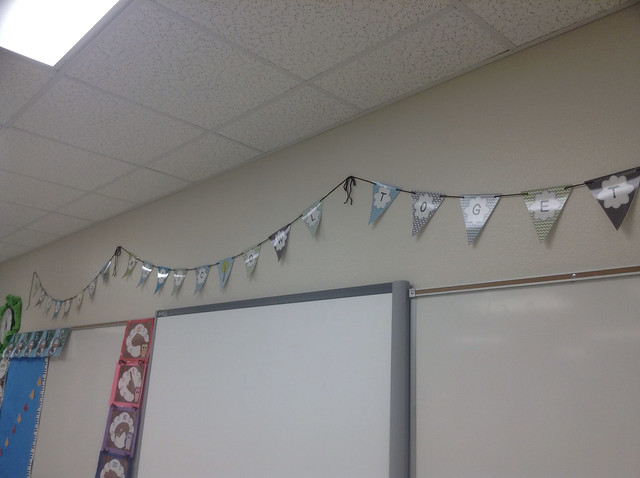
This adorable banner was a find from Music with Miss W. This banner says Making Music Owl Together. It is such a simple yet eye catching element to the front of my room.
image


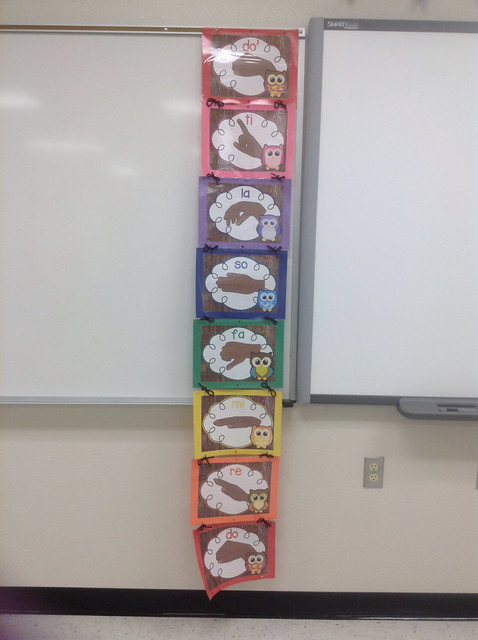
My kodaly hand signs posters were made by me. If you are interested in them, let me know! I may add them to my shop.
image


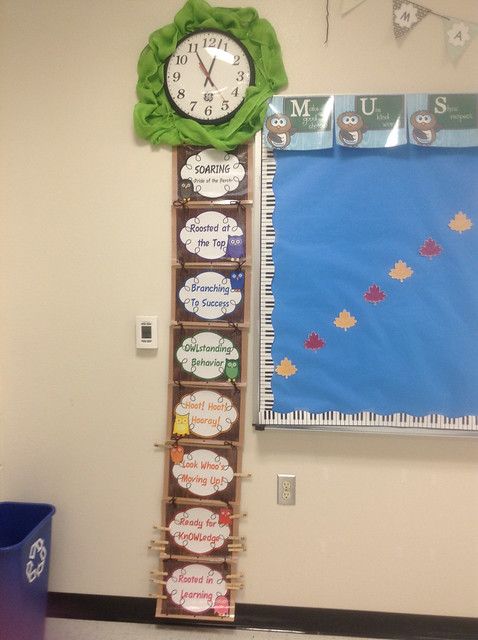
I used the burlap roll to make my Positives Only clip chart into a tree. If you want to read more about how I use my clip chart in my classroom read THIS POST. If you are interested in using a positives only clip chart and/or would like to purchase this one or my cupcake themed one, please let me know.
image


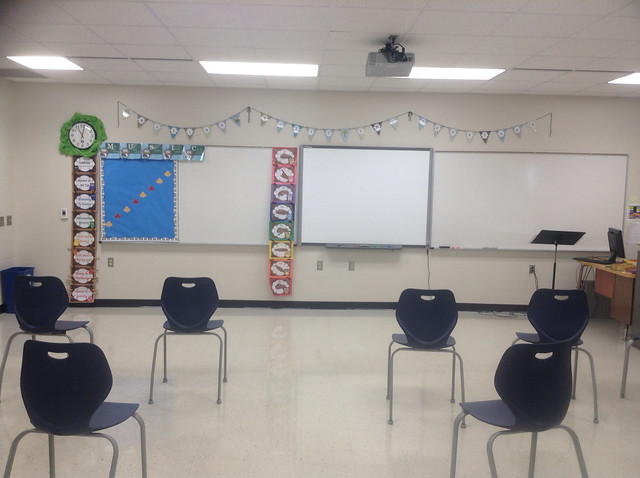
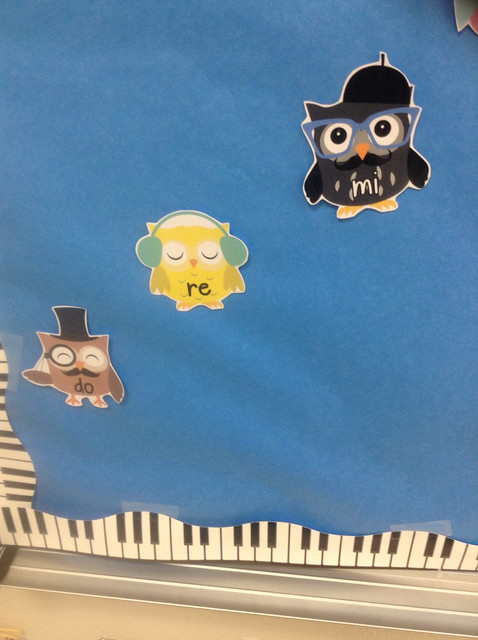
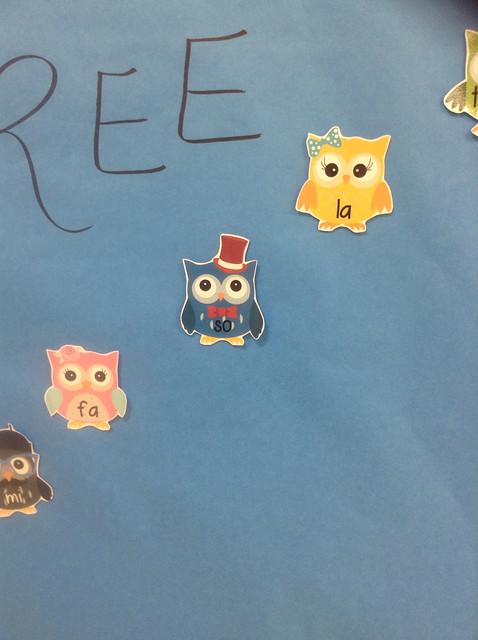
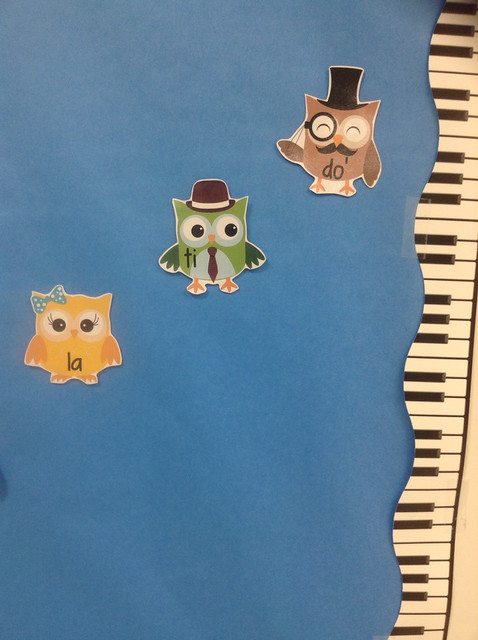
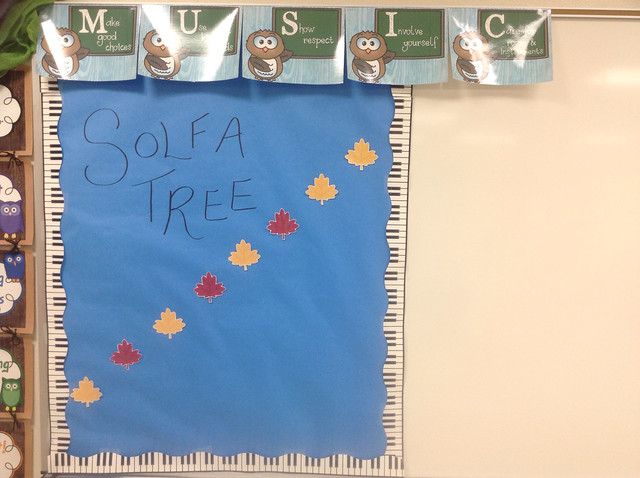
Finally, I have my Music Street and Rules on the whiteboard. My whiteboard here is magnetic, so the leaves are on magnets and can be pulled off to put in cute little owls that represent the solfege. (Leaves are clip art from Little Red and owls are clip art from One Stop Digital.)
image
image
image
image
image


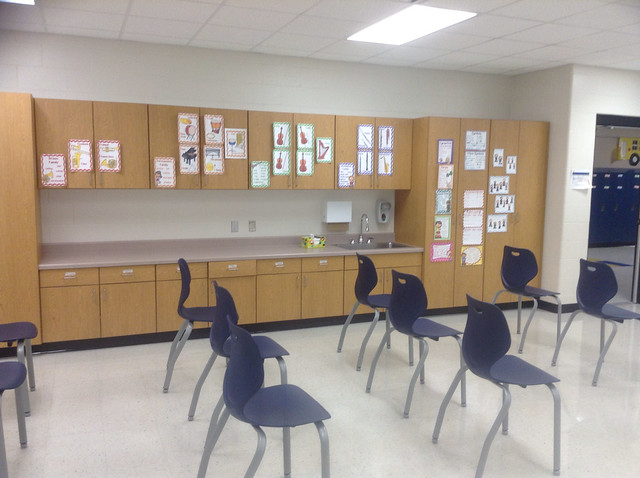
One side of my classroom has all these nice cupboards with my vocabulary posters. You can purchase these posters in my Teachers Pay Teachers Store.
image


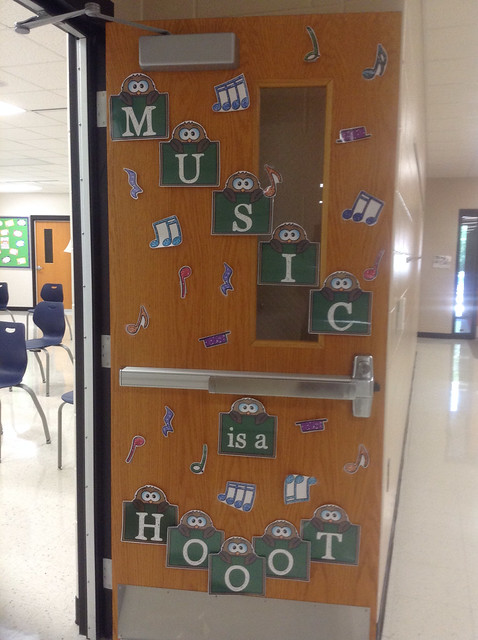
Finally, check out my door. This door was made using clip art from Whimsy Clips and Glitter Meets Glue
image


Ok, well that is all for now! Hope you enjoyed seeing all the pictures. I'd love to hear your thoughts on my room in the comments below!

Wednesday, July 29, 2015

How to Create a Keyboard Bulletin Board

Keyboard Bulletin Board Tutorial - Blog Cover Photo

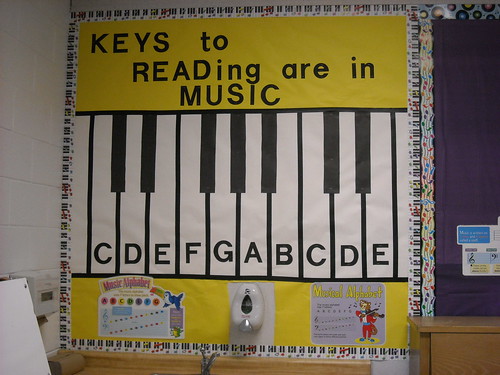
Many of you have probably seen the bulletin board I created several years ago in one of my classrooms. It is one of my most popular pins and one of my all time favorite bulletin boards. It was inspired by an idea on Tracy King's Bulletin Board website.

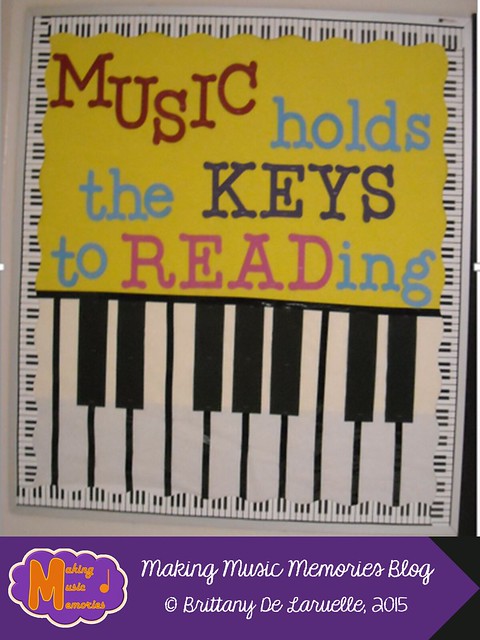
Bulletin Board

Some of you may be wondering just how hard this is to create yourself and where to start. Well, here are the steps I followed to re-create the look at my second school.

Keyboard Tutorial - Materials
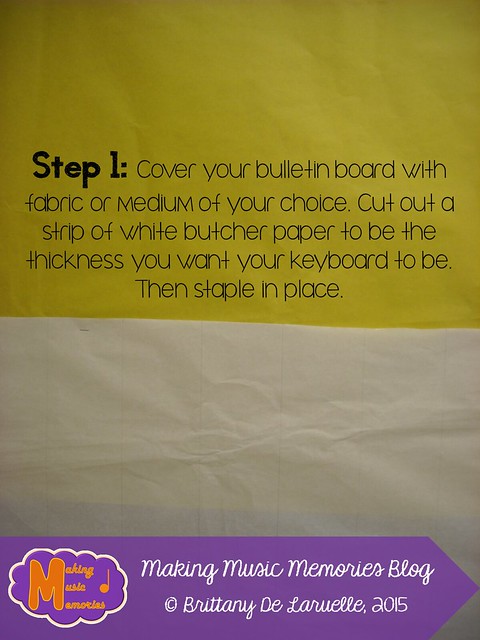
Keyboard Tutorial - Step 1
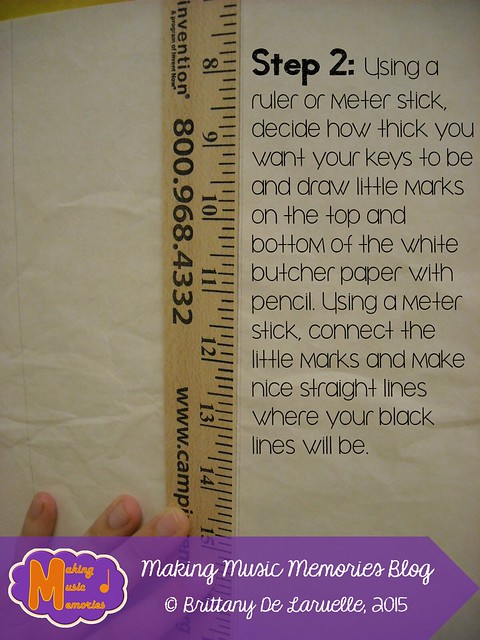
Keyboard Tutorial - Step 2
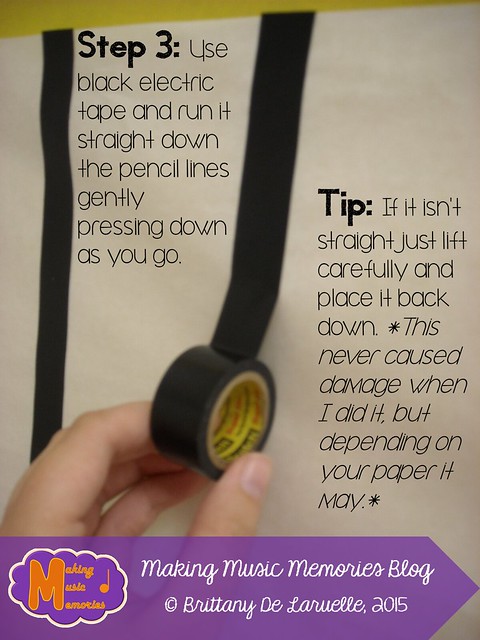
Keyboard Tutorial - Step 3
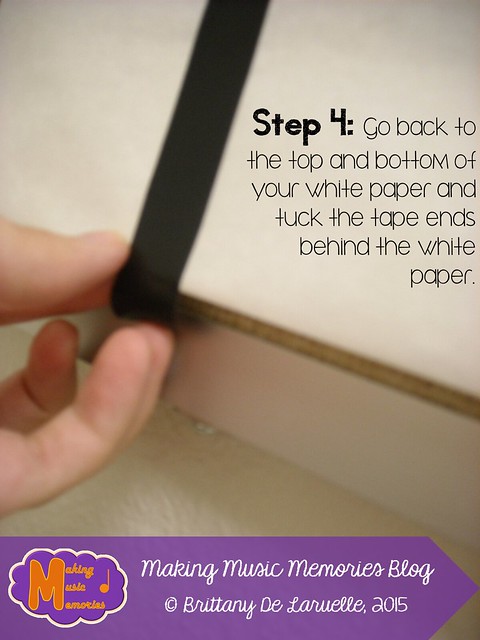
Keyboard Tutorial - Step 4
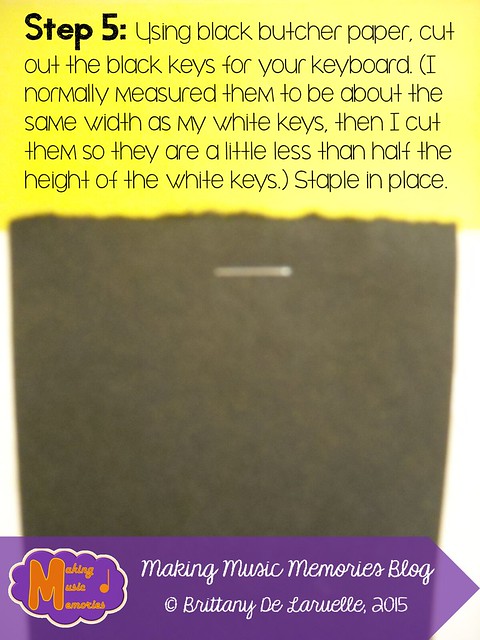
Keyboard Tutorial - Step 5
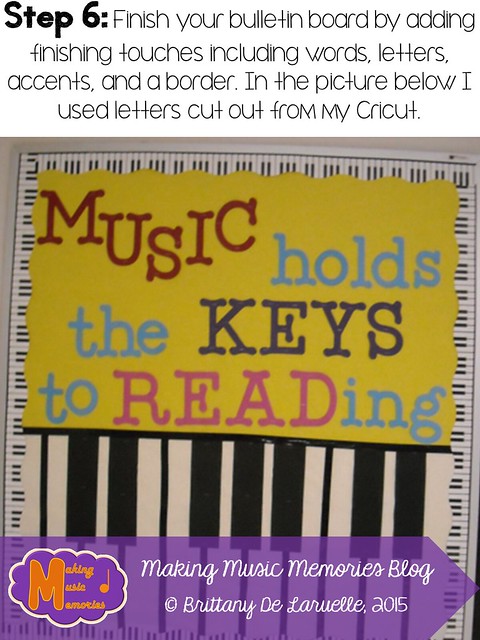
Keyboard Tutorial - Step 6
And that is it! You have a complete bulletin board.
Keyboard Tutorial - Finished Product

If you try this tutorial I would love to see your results!
Thanks for reading!

Tuesday, September 11, 2012

Decorating Fairview

Information Bulletin Board

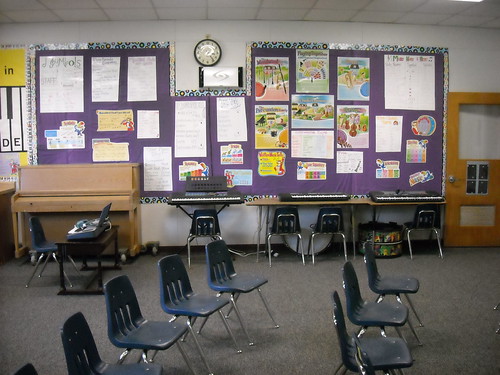
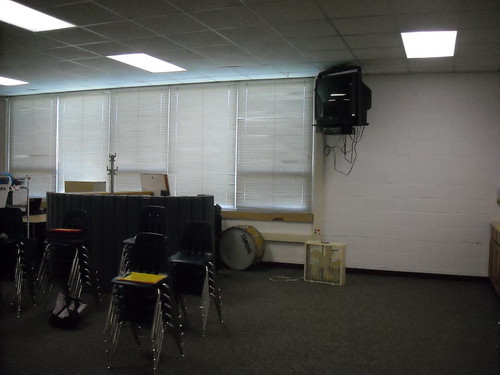
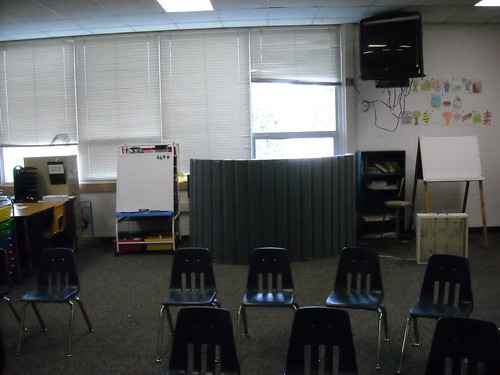
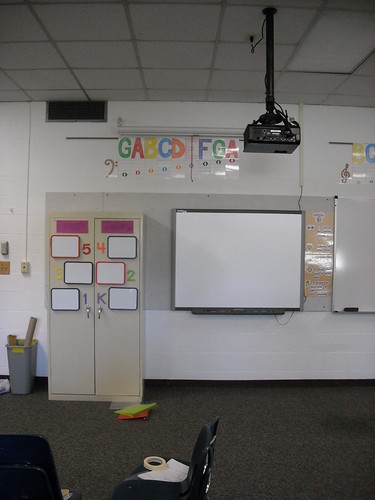
After decorating Bonduel for two days, I spent FOUR days decorating Fairview. That is the most time I have ever spent decorating my room, but it was definitely worth it!

The first things I worked on was my word wall on the south wall. This wall has a whole bunch of music words organized in categories. I know a lot of word walls are alphabetical, but I like having words in categories to make it easier for students to find the word they are looking for. I posted both posters that I bought, as well as, posters that I created this summer:

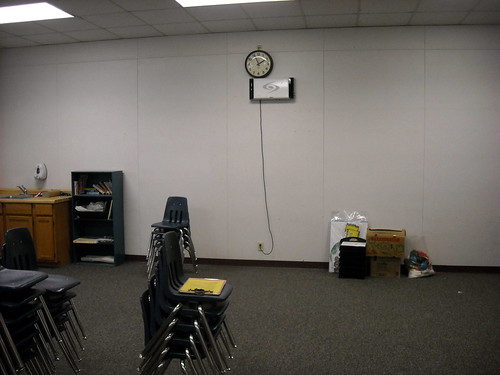
BEFORE
Pictures Before Decorating

FINISHED PRODUCT
South Wall (Word Wall)

I also added an awesome bulletin board next to the word wall. This bulletin board was actually quite simple to make and I used black 'painters tape' to create the keys. It looks so great now that it is finished and it really adds something to my 'music story corner.'

Bulletin Board

The next thing I worked on was creating a small story corner. This is the corner I use when I sing a story to my little ones. That is one of my favorite things to do when teaching the little ones. I have all sorts of song storybooks and they love listening to the stories and singing along to their favorites like Puff the Magic Dragon and Over the Rainbow.

BEFORE
Pictures Before Decorating

AFTER
Reading Corner
This is not a particularly good picture... but you get the idea.

The next step was adding the learning target dry erase boards and the music alphabet like I had in Bonduel:
Day 3 Progress

The final step, creating a Student of the Month bulletin board to show the great achievements my students:
North Wall

For more pictures check out my album on my Flickr Account.
Thanks for Reading!!!

Saturday, September 8, 2012

Preparing for Another Year

I teach between two rural schools all school year. I absolutely love what I do, but there are obviously some disadvantages of teaching between two schools. One of them is that you have to decorate not just one room, but two!

This year I was a little smarter about how I worked in my classrooms. At the end of the school year I already prepared both of my bulletin boards in Bonduel. Bonduel finished school about 3 days earlier than Fairview. That meant that I could work my normal school hours by teaching at Fairview then driving to Bonduel and working in my classroom. By the time school was officially out, my bulletin boards were prepared for the 2012-2013 school year:

DSCN2071
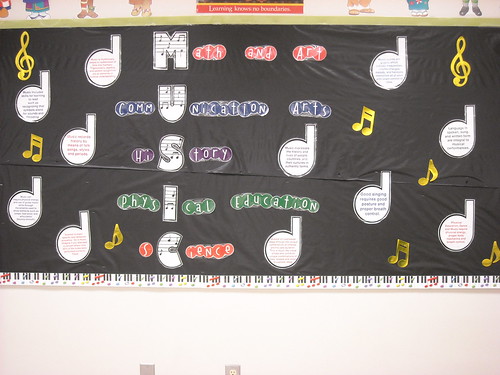
The first bulletin board used a black tablecloth as the background. I bought the downloadable and printable components of this bulletin board at the Music Bulletin Board website (great site for music educators to get ideas for bulletin boards). You can go to the downloadables part of the site and they have all sorts of great bulletin board sets. It is especially great for teachers like myself who have to work in two different classrooms. This way I can print off the items more than once and use them in both schools for the price of just ONE download.

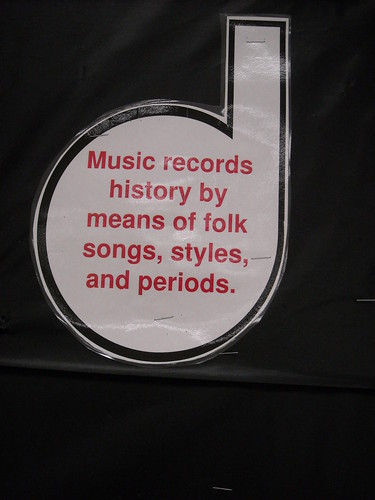
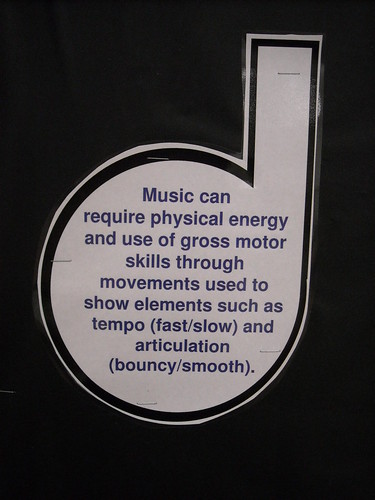
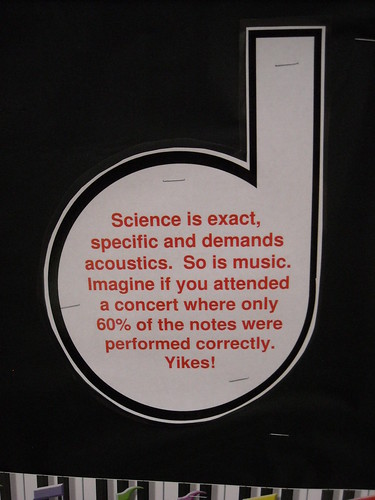
This bulletin board highlights how music is related to all the subjects. The music notes explain 'how?' in more detail. It is a great reminder to everyone that comes into my classroom, why music is more than just a 'fun' class. It helps students grow academically AND emotionally.

DSCN2072DSCN2073DSCN2074

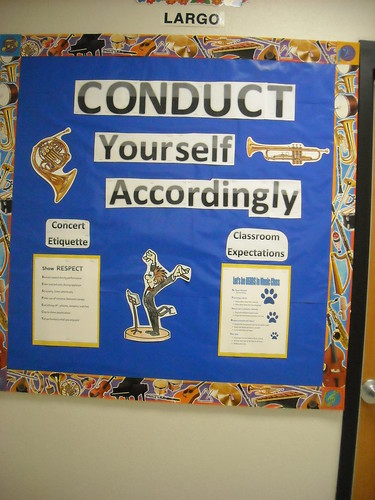
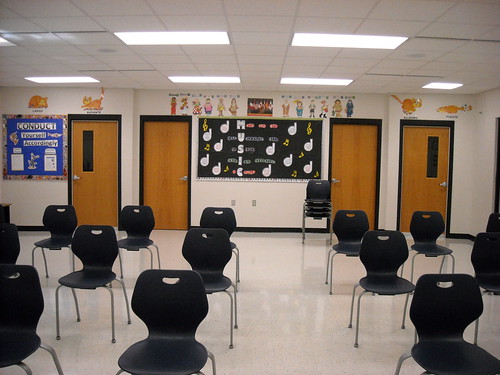
The second bulletin board was also an idea I got from the Music Bulletin Board Website. It says conduct yourself accordingly and it has classroom expectations, as well as, concert etiquette:
DSCN2076

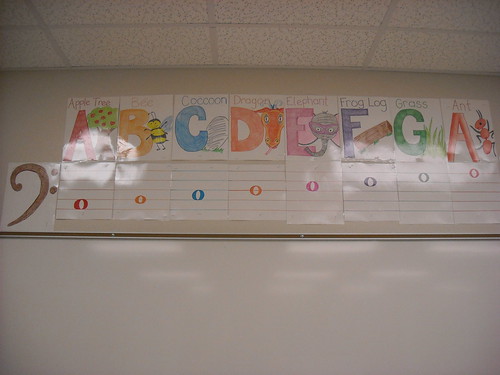
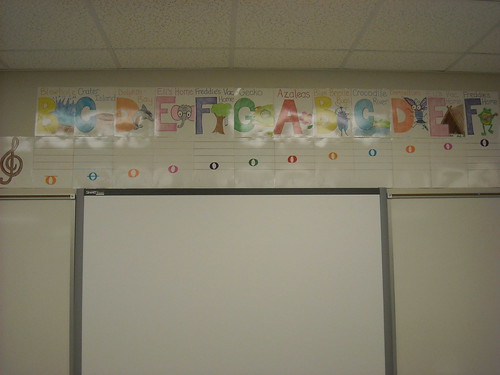
To finish decorating Bonduel, I added a music alphabet (I drew all the pictures, colored them, and then laminated them). I did NOT create the characters, but used characters from Freddie the Frog by Sharon Burch. Sharon is a music teacher who wrote a series that teaches young kids about the notes on the treble and bass clef stalves. Students love learning about Freddie, his friends, different tempos, music notes, rhythms, and scatting.

DSCN2068DSCN2069
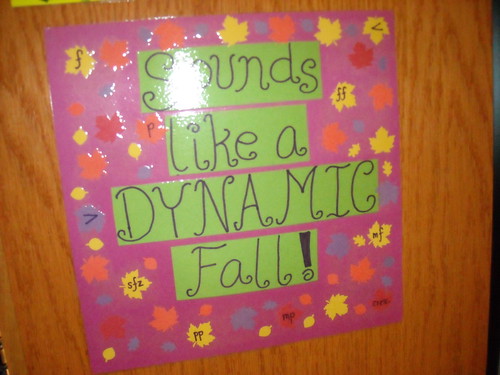
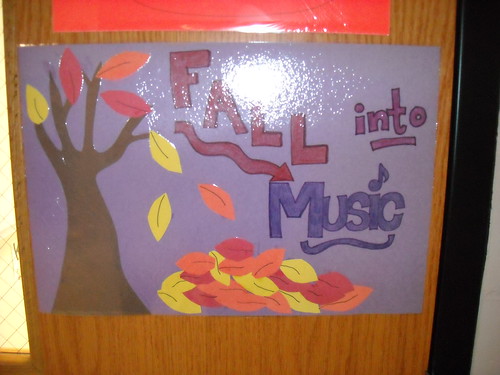
I also created two simple posters. I created posters because they are simple to take down and put up as the seasons change:

DSCN2081
DSCN2083

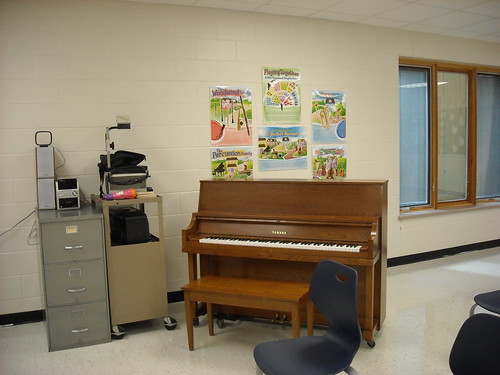
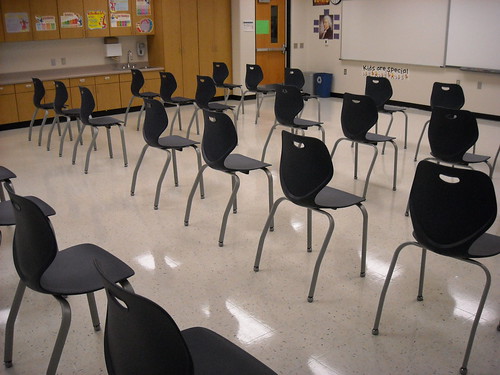
Finally, I moved around the piano, changed my seating arrangement, and added posters of the instruments of the orchestra:
DSCN2078
DSCN2079
DSCN2066
DSCN2064

If you would like to see more pictures of my classroom in Bonduel, please check out my Flickr Account.
Thanks for Reading!