Image Map
Showing posts with label scrapbook. Show all posts

Saturday, September 8, 2012

Challenge #5 - Collage Technique

Guidelines:
  • You need to create ONE scrapbook page for this challenge (Remember: one page is the two pages side by side)
  • Create a collage of photos on either side of your scrapbook page. This collage needs to contain AT LEAST 5 pictures.
  • You may only use 5 stickers, stamps, punches, etc. for this challenge. (Remember the focus is to use a lot of pictures, not a lot of ‘stuff’)
  • A journal is allowed, but not a requirement.
  • Use at least 8 pictures for this page. If you do not have enough pictures make sure to get some for this page!
  • Remember to make your page neat and clean!

Tips & Tricks:
  • Measure, measure, measure! The pieces of paper most of you are working with are 8 ½”x11”. Measure your pictures to fit into that.
  • Use a ruler and be careful NOT to cut your pictures until you are completely certain you are right. You can always cut more off later, but you can NOT put it back on once it is off.
  • Do not worry about titles, stickers, etc. until the VERY end. You may not even have a title. That is alright! The focus this week is the pictures!
  • Be creative in how you put the pictures together. Use the templates provided on your table for ideas and inspiration.

For this challenge I gave my students a set of templates which I took from this website-->Scrapbook, Etc.<--
This helped students create their own layouts or cut pictures to fit the given layout.

Challenge Points:
  • Creativity
  • Follow Directions
  • Teamwork
  • Time Management
  • Neatness

My Example:
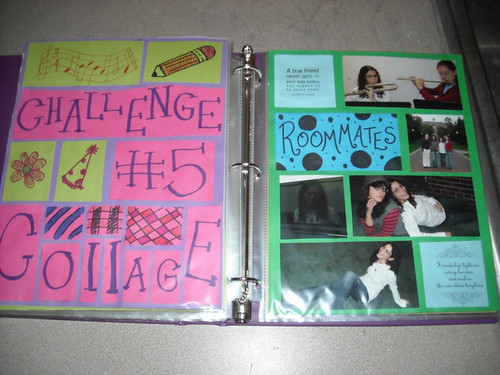
Challenge #5 - Collage Example

Winner of Challenge #5:
Challenge #5 - Collage

Thanks for Reading!

Challenge #4 - 'Themespiration'

Guidelines:
  • Create ONE scrapbook page for this challenge (Remember: one scrapbook page is actually two single pages side by side)
  • Decide on a theme for your page and have at least 3 things on your page that help represent this theme (this does not include pictures!). At least one of these things should be made by you! More will result in more points! This is your chance to be artistic!
  • There is no limit on the amount of stickers, punches, or stamps you can use for this challenge, but keep in mind you do NOT want your page to look cluttered. Make your hard work stick out!
  • A journal is welcome, but not a requirement for this challenge.
  • Remember, that, if you choose to title your page it should be neat and clean.

Tips & Tricks:
  • Choose a theme first! Remember you do not need a lot of pictures for this theme (2-4 will be plenty). However, you want to decide what you are going to create to make this theme come alive. Take a look at the examples in my binder to help you get started!
  • Spend the majority of the time, the first day (and maybe even second day), creating your theme items. These should be neat, clean, and be using your best artistic skills (some have more skills than others, that is okay! Just do YOUR best!)
  • Find a way to have your theme items really stand out and do not add a lot of clutter that takes away from the items you created for you theme.

Challenge Points:
  • Creativity
  • Follow Directions
  • Teamwork
  • Time Management
  • Neatness
  • Items for Theme

My Example:
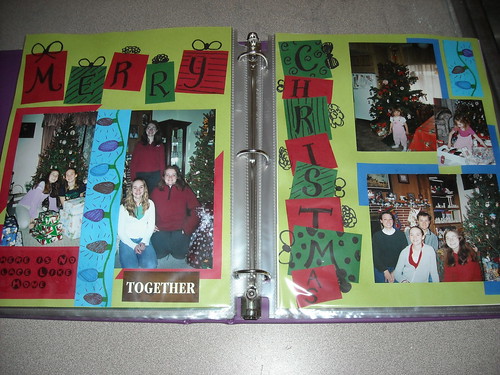
Challenge #4 - Themespiration Example
Notice the Christmas Presents creating the words Merry Christmas. This is one of the items I created to represent the theme.

Winner of Challenge #4:
Challenge 4 - Themespiration

Thanks for Reading!

Thursday, September 6, 2012

Challenge #3 - Ripping Technique

Guidelines:
  • You need to create TWO scrapbook pages for this challenge (Remember: one page is the two pages side by side, so you are really creating four single pages)
  • Must using the ripping technique at least twice on each page. Using it more is recommended. Keep in mind that you want to rip towards yourself to make the effect obvious!
  • Can only use a combination of 15 stickers and pictures.
  • A journal is suggested, but not an expectation. You can decide whether you want to include one or not. However, keep in mind that you will probably get additional points for adding a journal to your page.
  • If you choose to title your page remember to make it look neat and clean!

Tips & Tricks:
  • When ripping you should rip towards yourself. If you forget, just turn the piece around.
  • LAYER: sometimes rips in front of pictures sometimes pictures in front of rips.
  • Cardstock (heavy paper) works best for ripping. Lighter paper may not show the nice rips. Because of this it may be smart to use the lighter paper as a background and the solid cardstock as your ripping paper.

Challenge Points:
  • Creativity
  • Follow Directions
  • Teamwork
  • Time Management
  • Neatness

My Example:
Challenge #3 - Ripping Example

Winner of Challenge #3:
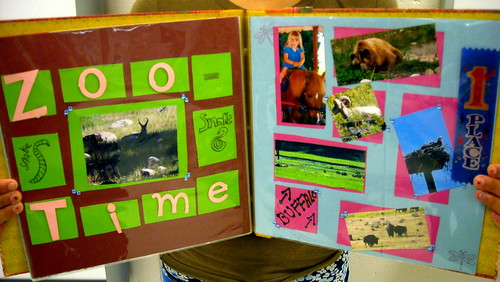
Challenge 3 -  Ripping Technique

Thanks for Reading!

Wednesday, September 5, 2012

Challenge #2 - Geometric Shapes

Guidelines:
  • Pick a geometric shape as inspiration for your design. Some examples of geometric shapes include circles, parallelograms, squares, rectangles, triangles, trapezoids, octagons, hexagons, pentagons, stars, hearts
  • Title your page using stencils, nice printing, or stickers
  • Must use at least 10 of the shape of choice (Keep in mind, this does not mean one star, one heart, one circle, 3 squares, etc. Instead it means if you choose a triangle you use 10 of them in your scrapbook page)
  • Can only use a combination of 10 stickers and pictures
  • Must include a journal. This journal should have something to do with the page, but is NOT the description of pictures. Instead, it is a reflection on something. For example: if you have pictures of a vacation you could journal about what you did that specific day.

Tips & Tricks:
  • Before you do anything you should choose the shape you are going to use.
  • Cut out several shapes of various sizes and start to arrange them on your page. DO NOT glue them down right away.
  • Arrange pictures and a short journal around the shapes. Layering some shapes over pictures and some under will give it a more exciting look.
  • Make sure your shapes fit with the color scheme of paper. For example: if you pick a patterned paper that has a lot of orange, yellow, and red you should probably cut out shapes that are similar to this color.

Challenge Points:
  • Creativity
  • Follow Directions
  • Teamwork
  • Time Management
  • Neatness

My Example:
Challenge #2 - Geometric Shapes Example

Winner of Challenge #2:
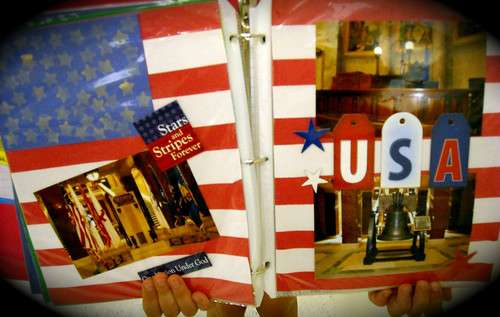
Challenge 2 - Geometric Shape

Thanks for Reading!

Tuesday, September 4, 2012

Challenge #1 - Creating a Pattern

The third class that I taught during the summer was a Scrapbooking class. This class was by far my favorite to teach. I was a little worried going into it that students would not actually practice the techniques that I taught them. This was something I was warned about by the current art teacher. To solve this dilemma, my friend E came up with a brilliant solution: Scrapbooking challenges! I created five different challenges to go with the five different techniques we worked on throughout the summer. Students then worked on these challenge pieces and turned them in after a certain amount of time.

For each challenge I created PowerPoints with guidelines, tips & tricks, and challenge points (what they are 'graded' on).

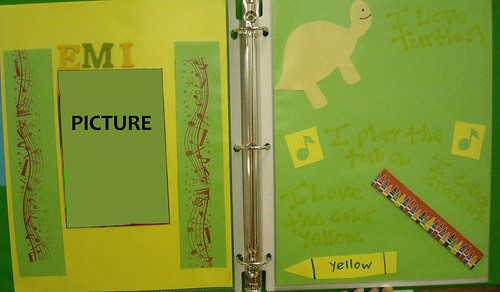
The first challenge was creating a pattern that somehow represents yourself. The guidelines for the first challenge were as follows:
  • Create a pattern using stamps, markers, pens, etc. that somehow represents you
  • Must use AT LEAST ONE stamp
  • Use at least one picture of yourself
  • Include at least 4 interesting facts about yourself on the page
  • Can only use a combination of 10 stickers and pictures

Tips & Tricks to help students with the challenge:
  • Only have two to three focal points (things that REALLY catch your eye)
  • PLAN, PLAN, PLAN!
  • Focus on the pattern FIRST!
  • Pick colors that allow the pattern to stick out

Students were 'graded' on the following Challenge Points:
  • Creativity
  • Follow Directions
  • Teamwork (Working with those around you and helping them)
  • Time Management (Working hard and using the time given to make a great product!)
  • Neatness

My example:
Challenge #1 - Pattern Example

At the end of 3 work days (50 minute classes), students turned in their work. I looked through all the work and added the points up. I then chose one winner to receive a bookmark and have their picture taken with their work. I also chose a team winner. The team was based on an average of points based on the number of teammates. It was amazing how excited students got about this after the first challenge.

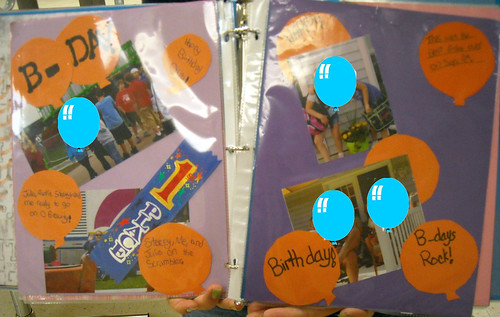
To see what great work my students came up with, I will post the winning pages of each challenge. Keep in mind these pages were created by 8-11 year olds. I also have put images in front of pictures to keep my students identities a mystery.

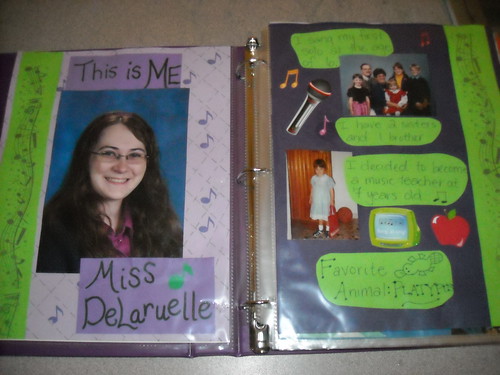
Here is Challenge #1 Winner: Challenge 1 - About Yourself

Thanks for reading!

Monday, July 16, 2012

Summer School 2012

There are a lot of perks to being a music teacher. One of them is that you get to know almost EVERY student in the elementary school. The only ones I do not know are the 4K students, since they do not have music class. Though it can be difficult learning all those names, I find it very important to get to know as much as possible about my students. It may seem tedious, but kids are extremely happy to know you care about them and want to know about them.

In order to get to know my students more I try to pay close attention to them even outside of class. I pay attention to what they play on the playground. I pay attention to who they play with. I try to have conversations with them about things they are interested in and try to relate to them as much as I can.

This summer, I have taken a break from teaching music and instead am teaching Fun with Technology (going into 1-3 grade), Fun in the Sun (going into 4-6), and Scrapbooking (going into 3-6). This has given me the advantage of learning even more about my students. It is amazing how I suddenly see different sides of students I worked with the whole last year.

Summer school will be over this week, but I have learned a LOT of cool stuff that I want to share with you. I have found interesting sites that you may be interested in checking out, I have learned new scrapbooking techniques and much more. This blog for the next couple months will highlight some of the things we have done in summer school that I think may be helpful for all of you.

Thanks for Reading!